On this page
What dryer vent repair involves
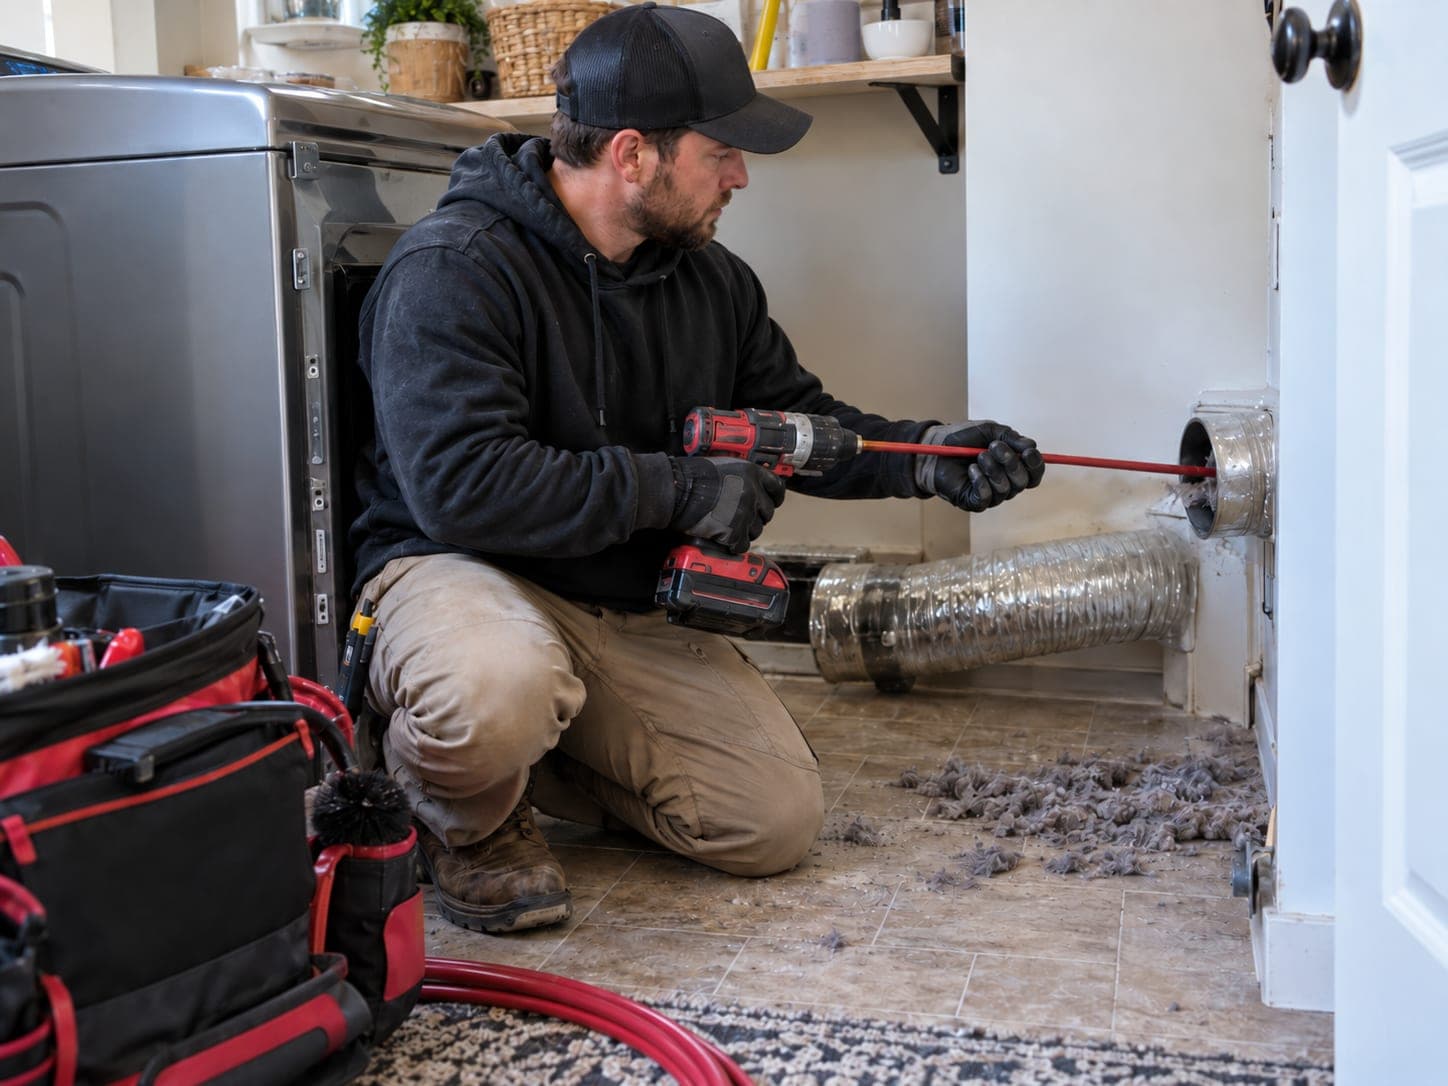
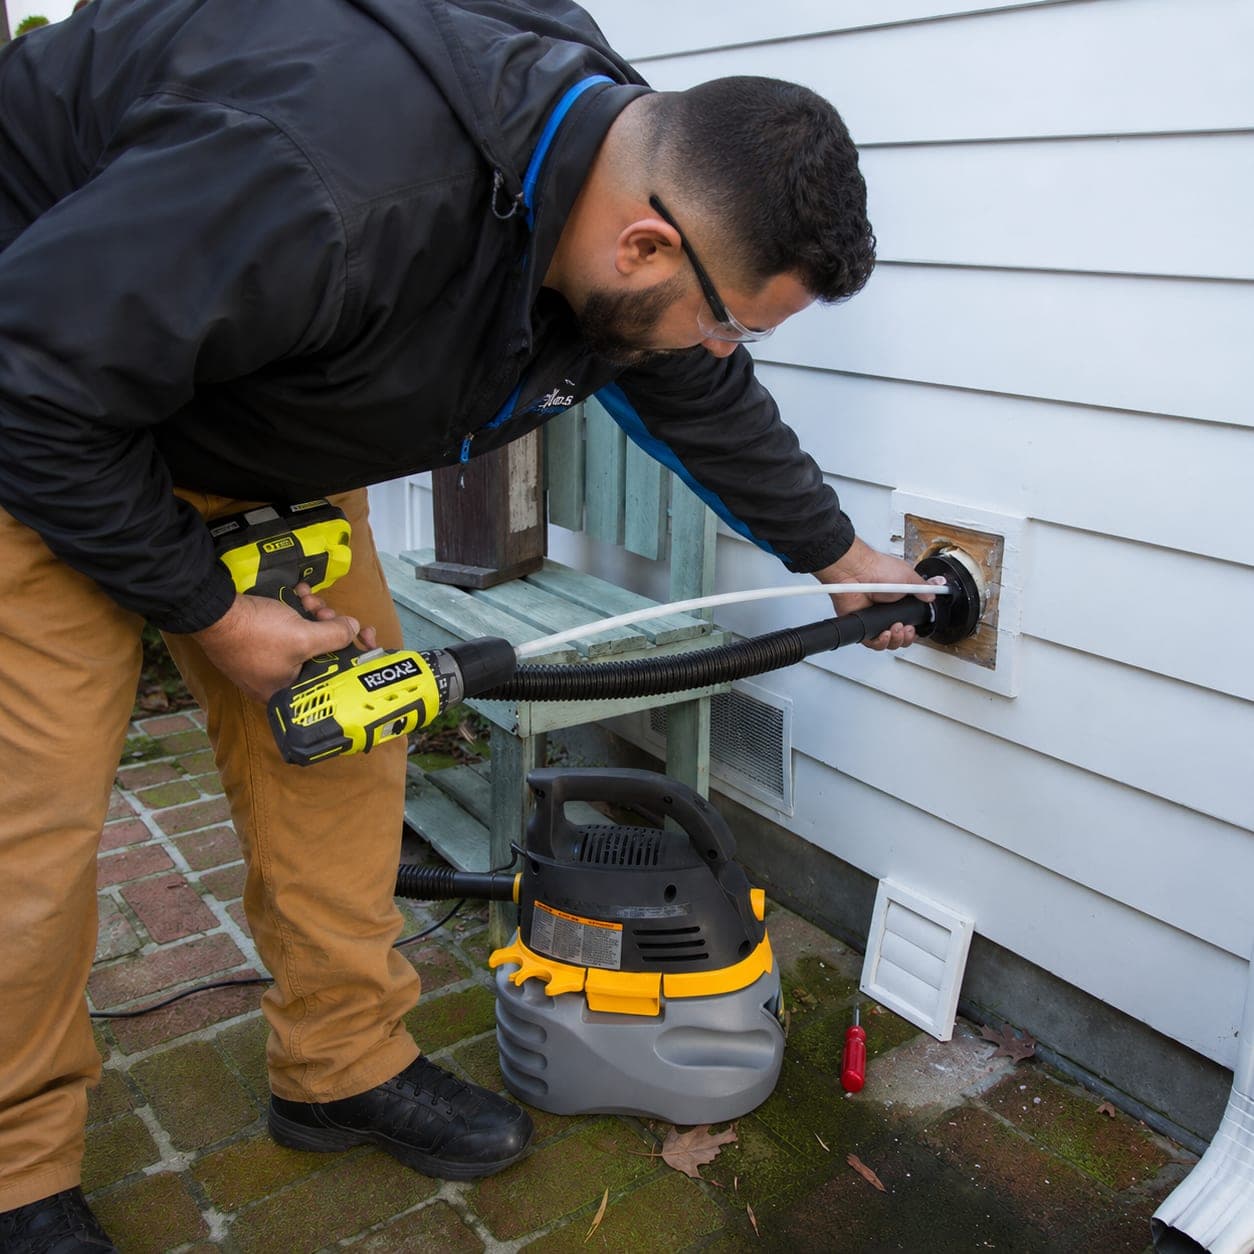
A dryer vent is the path air takes from the back of the dryer to the outside of the house. It usually has three parts: a short transition hose at the machine, a duct run through a wall, floor, attic or ceiling, and a termination with a cover or flap on the outside. Dryer vent repair means fixing the parts of that path that no longer hold together. That can be reconnecting a joint that came apart, replacing a crushed or kinked section, swapping a torn foil hose for a sturdier connector, or replacing a long stretch of duct that is too damaged to save.
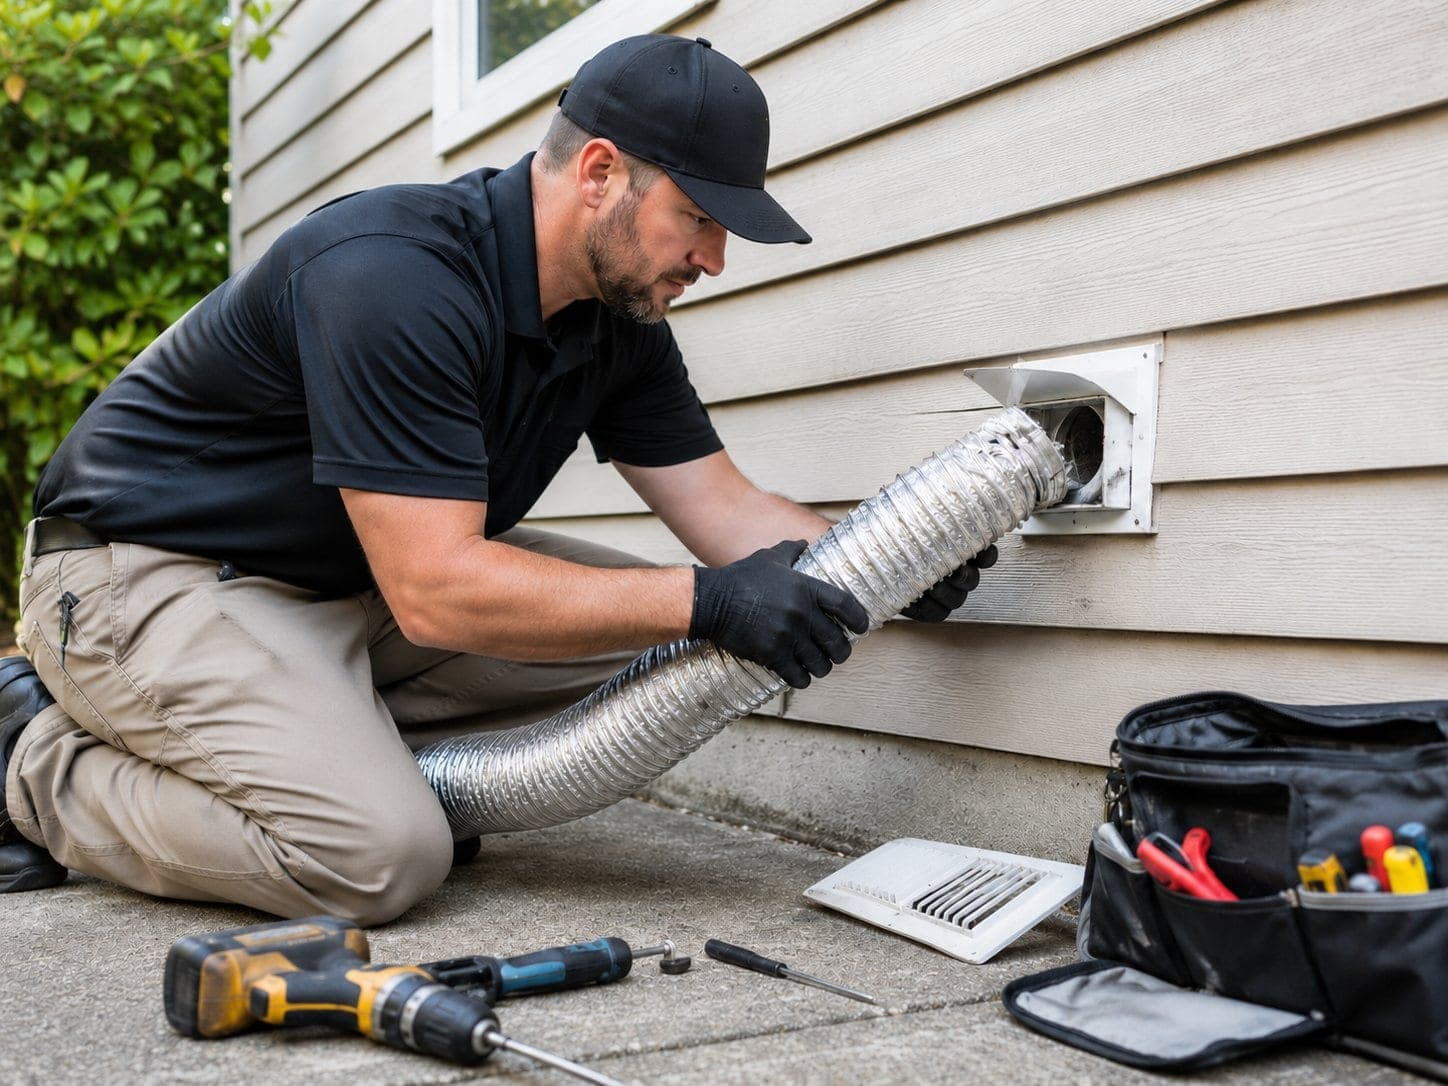
Repair is different from cleaning. If the duct is sound and only packed with lint, dryer vent cleaning is the right job. Repair is for a vent that is physically broken, leaking air into the house, or built in a way that keeps it from carrying air well.
Signs your dryer vent needs repair
Signs worth a closer look
- Clothes come out damp after a normal cycle, or drying times keep getting longer
- The laundry room feels hot, humid or musty while the dryer runs
- Lint is collecting on the floor, the wall or behind the dryer instead of only in the lint trap
- The transition hose behind the dryer is flattened, kinked, torn or held on with tape
- You feel little or no airflow at the outside vent cover while the dryer is running
- A burning or scorched smell when the dryer is on
- The duct came loose after the dryer was moved, replaced or pushed back against the wall
- The outside cover is broken, stuck shut, or letting in pests or debris
Some of these signs come from a clog rather than damage. When lint or a nest is the problem, dryer vent blockage removal clears the run. A cracked, missing or jammed flap outside is often a cover issue, which our dryer vent cover replacement service handles. The visit tells us which one you have.
Matching the symptom to the job
01Damp clothes and long drying times
- What you may notice
- Loads need extra time; the dryer cabinet gets very hot
- How it’s confirmed
- We check airflow at the outside termination and look for crushed sections or a buildup of lint inside the duct
02Lint or humidity inside the house
- What you may notice
- Lint dust behind the dryer, moisture or a musty smell in the room
- How it’s confirmed
- We inspect each joint and the transition hose for separation, tears or gaps
03Problems at the outside vent
- What you may notice
- Flap stuck open or closed, broken louvers, debris or pests at the opening
- How it’s confirmed
- We look at the exterior cover and test whether it opens freely when the dryer runs
What a repair visit looks like, step by step
How the work goes
Pull the dryer out and look
We move the dryer away from the wall and check the transition hose, the connection at the machine and the connection at the wall.
Trace the full run
We follow the duct as far as it can be reached and check for disconnected joints, crushed spots, sagging sections and damage at the exterior termination.
Explain what we found
You get a plain description of what is damaged and what we recommend, whether that is a single reconnection, a section replacement or a full replacement. Estimates are free.
Repair or replace
We remove the damaged parts, fit new duct and connectors, and seal the joints so the run holds together and does not leak air or lint.
Clear and test
Lint loosened during the work is cleaned out, the dryer is reconnected and set back without crushing the hose, and we run it to confirm air is moving freely outside.
Vent parts and materials
| Feature | Rigid or semi-rigid metal | Thin foil or plastic flex hose |
|---|---|---|
| Inside surface | Smooth, so lint has less to cling to | Ribbed, so lint catches in the folds |
| Durability | Holds its shape when the dryer is moved | Crushes, kinks and tears easily |
| Where it fits | The main duct run and most transition connections | Often found on older or quick installs; usually worth replacing |
Inside surface
- Rigid or semi-rigid metal
- Smooth, so lint has less to cling to
- Thin foil or plastic flex hose
- Ribbed, so lint catches in the folds
Durability
- Rigid or semi-rigid metal
- Holds its shape when the dryer is moved
- Thin foil or plastic flex hose
- Crushes, kinks and tears easily
Where it fits
- Rigid or semi-rigid metal
- The main duct run and most transition connections
- Thin foil or plastic flex hose
- Often found on older or quick installs; usually worth replacing
Beyond the duct itself, a repair may involve the clamps or foil tape at each joint, elbows where the run changes direction, the wall or roof termination, and the exterior cover with its flap or damper. We replace only what is worn or damaged and tell you which parts are in good shape.
Safety and upkeep after a repair
Stop using the dryer if you smell burning
A scorched smell, a cabinet that is too hot to touch, or a dryer that shuts itself off mid-cycle can point to trapped heat and lint. Turn the dryer off and get in touch before running another load.
- Clean the lint trap before or after every load
- Leave a little space behind the dryer so the transition hose is not squeezed flat
- Look at the outside cover now and then while the dryer runs to make sure the flap opens
- Keep the area around the dryer free of stored laundry, boxes and cleaning supplies
- Plan for periodic cleaning of the new duct; you can read how dryer vent cleaning works to see what that visit covers
A repaired vent still collects lint over time. Pairing the repair with periodic cleaning keeps the dryer working efficiently and reduces the heat and lint that build up behind it.
Booking dryer vent repair
Call or request an estimate and tell us what you are noticing: damp loads, lint behind the dryer, a damaged outside cover, or a hose that came loose. We also handle commercial and property-manager work, so landlords with several laundry setups can get in touch about more than one unit.